Bunting Tutorial
So there are hundreds of “how to make your own bunting” tutorials online and plenty of ready made kits that you can buy to help you along the way, but I figured I was making bunting for my dining room so why not write a tutorial while I did it!
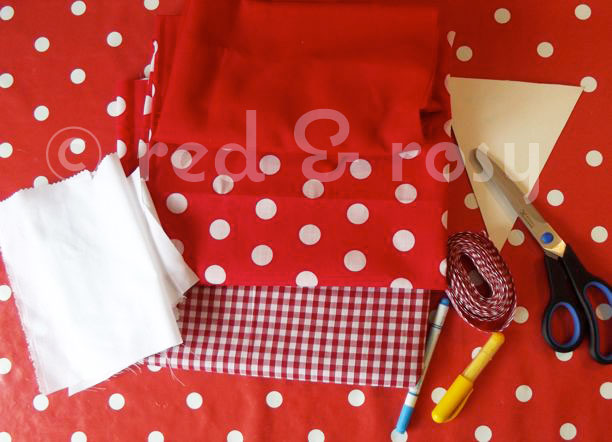
Materials required are:
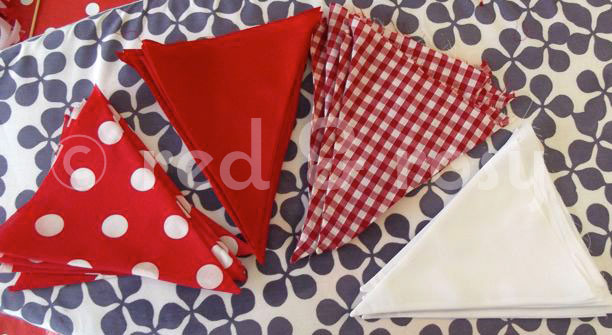
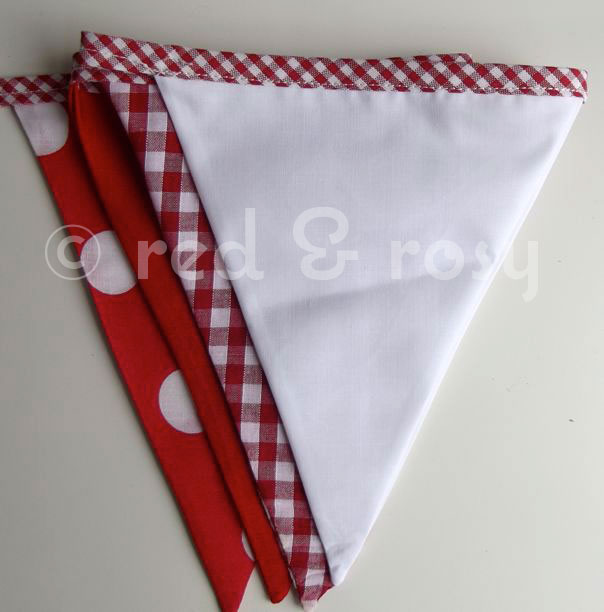
- Fabric (I decided to use red, white, red gingham and red spot fabric)
- Bias Binding — I used 18mm gingham available from Crafty Ribbons
- Scissors
- Chalk / Water erasable pen or whatever you have to draw on the fabric
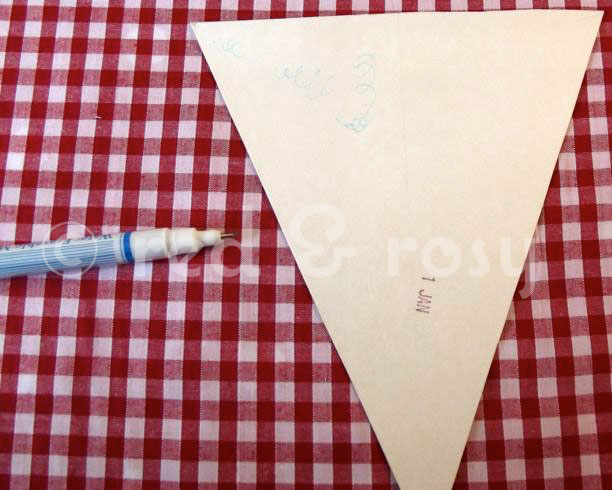
- Bunting Template (cut out of an old cereal box — this one measured 5.5inches wide and seven inches long)
- Sewing Machine!
First, fold your fabric in half right sides together. As you can see in the photograph’s to follow, I didn’t do that! This way will save you a little time.
Fabric folded, draw your template on the fabric leaving a 15mm (or more if you prefer) seam allowance.
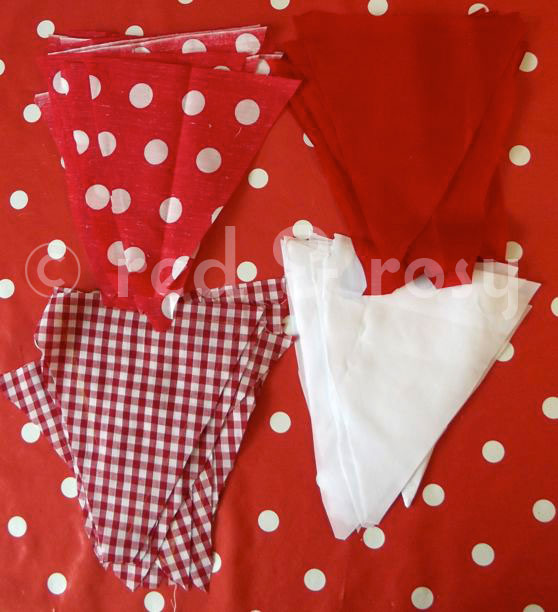
I cut out six of each fabric (technically 12 of each as I didn’t fold my fabric first!), which gave me 1.5 metres of bunting
Now we are ready to sew! Make sure that you have two pieces of the same fabric, right sides together with the side you drew the template on facing up.

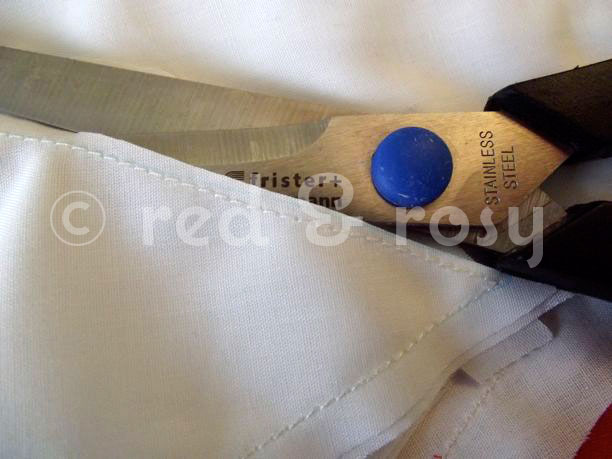
All you do is sew down the two long sides, I was able to just run them all through the sewing machine in one go by lining up the next flag just before the first one was finished.
MAKE SURE YOU KEEP THE TOP OF THE FLAG OPEN (sorry I felt the need to shout that but it is quite important)

Trim round the edges.
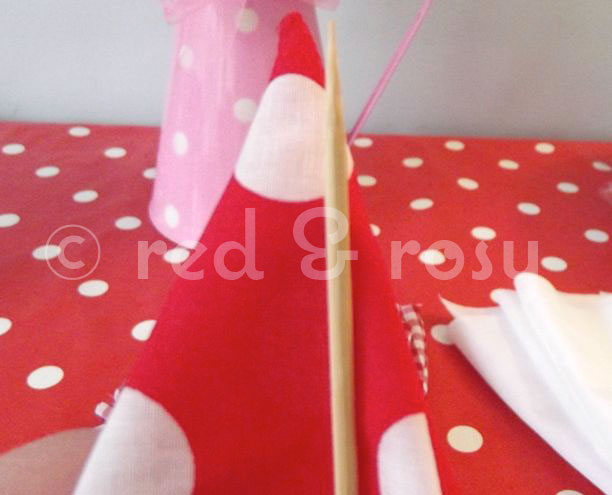
And turn the right way out, using a skewer to poke the corner out to a point.
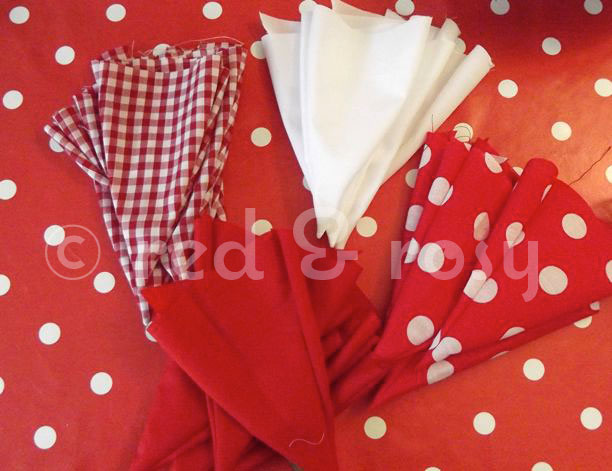
Now you will have a pile of flags looking a little like this:
and the next step is to iron them all flat.
My most hated job of all!
When they are all lovely and ironed, take the Bias Binding and fold in half, and about an inch along place the first flag into the folded Bias Binding. Place into the sewing machine and stitch along the edge as shown.
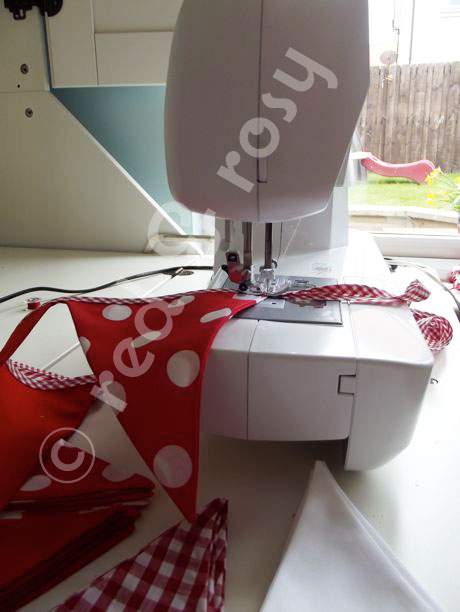
Keep feeding the Bias Binding through the machine, inserting a flag as you go along until all the flags are used.
Once all of the flags are sewn, sew the remaining Bias Binding back on itself to make a loop, then go back to the start of the bunting and repeat on that end.
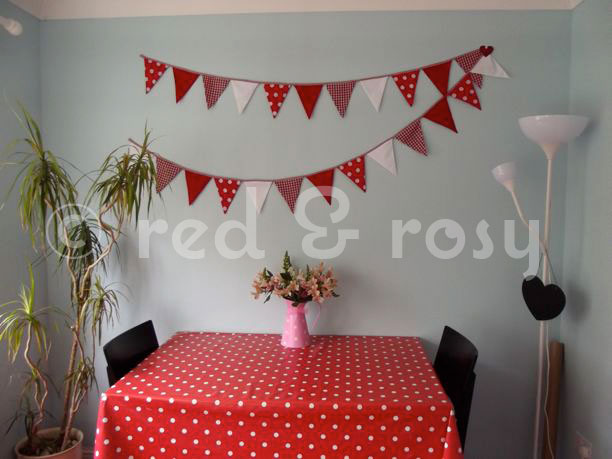
Then your finished! All your left to do is hang it somewhere that need’s to be made pretty — in my case my bare dining room wall.
Hope this makes sense, please feel free to ask any questions should you have any.