Crochet BMO Scarf Tutorial

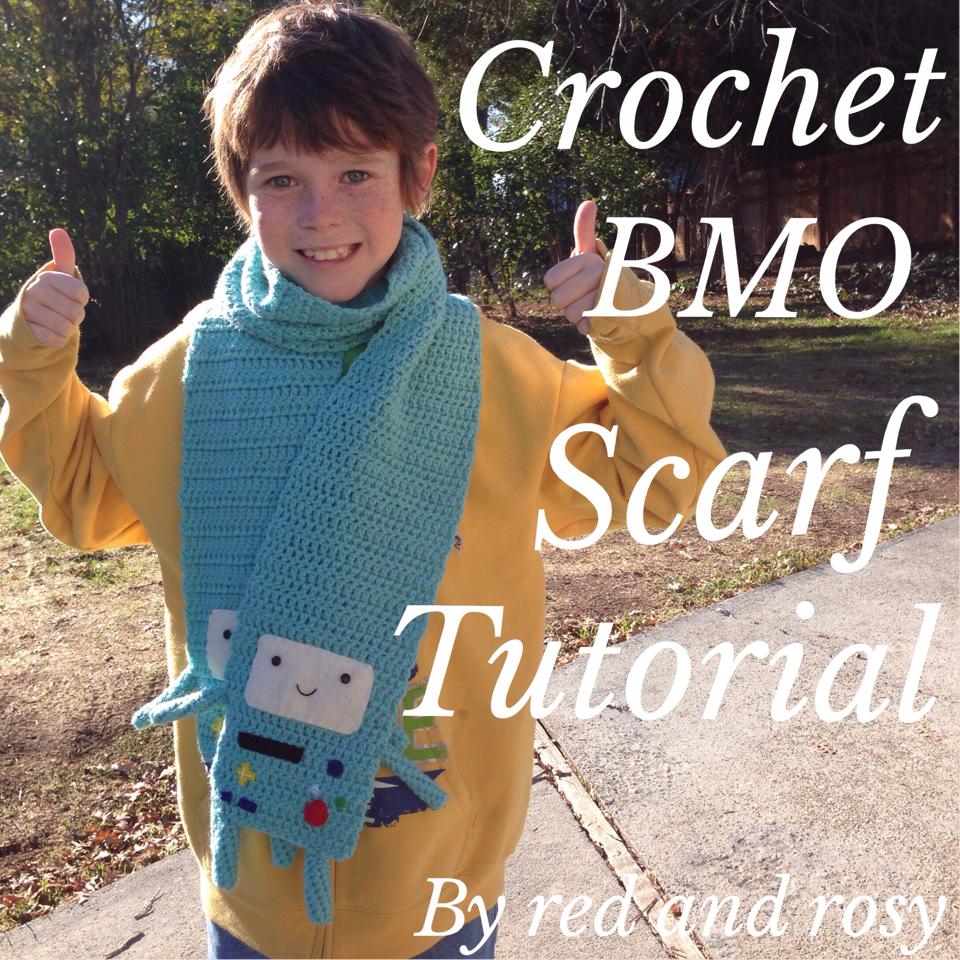
A few months ago, my 9 year old asked me if I could make him a Scarf that no–one else had at School. We compiled a list of his favourite TV programmes, had a look around to see what was available in local stores and whittled the list down to BMO from Adventure Time.
Before I go on, I would just like to let you know that I only learned how to Crochet a year ago, self taught through various Library books and the occasional YouTube tutorial. This is my very first attempt at writing a pattern, so please let me know if you spot any errors or if any part of this doesn’t make sense. All crochet terms are US.
Materials required
- 1 Skein of Aqua Yarn (I used Red Heart Super Saver Aruba)
- H Hook (5.00mm / UK 6)
- F Hook (3.75mm / UK 8 or 9)
- Yarn Needle
- Scraps of felt in cream, red, royal blue, light blue, black, green & yellow
- Print of attached PDF template
- 4 x Brads
- Embroidery floss to match felt colours
Scarf
All crochet terms are US.
- Row 1 — Using H Hook, Ch 22. Turn, and DC into 2nd stitch from hook. Continue for the rest of the row. Turn.
- Row 2–129 — Ch 2, DC into 2nd stitch from hook for rest of the row. Turn.
- Row 130 — Ch 2, DC into 2nd stitch from hook and continue for rest of the row. Fasten off.
Arms (Make 4)
- Using F Hook, make a magic circle and SC 5 into the ring.
- Mark your last stitch with a stitch marker, then SC 5 for the next 12 rows. Fasten off, leaving a large tail for stitching to the scarf later.
Legs (Make 4)
- Using F Hook, make a magic circle and SC 7 into the ring.
- Mark your last stitch with a stitch marker, then SC 7 for the next 9 rows. Fasten off, leaving a large tail for stitching to the scarf later.
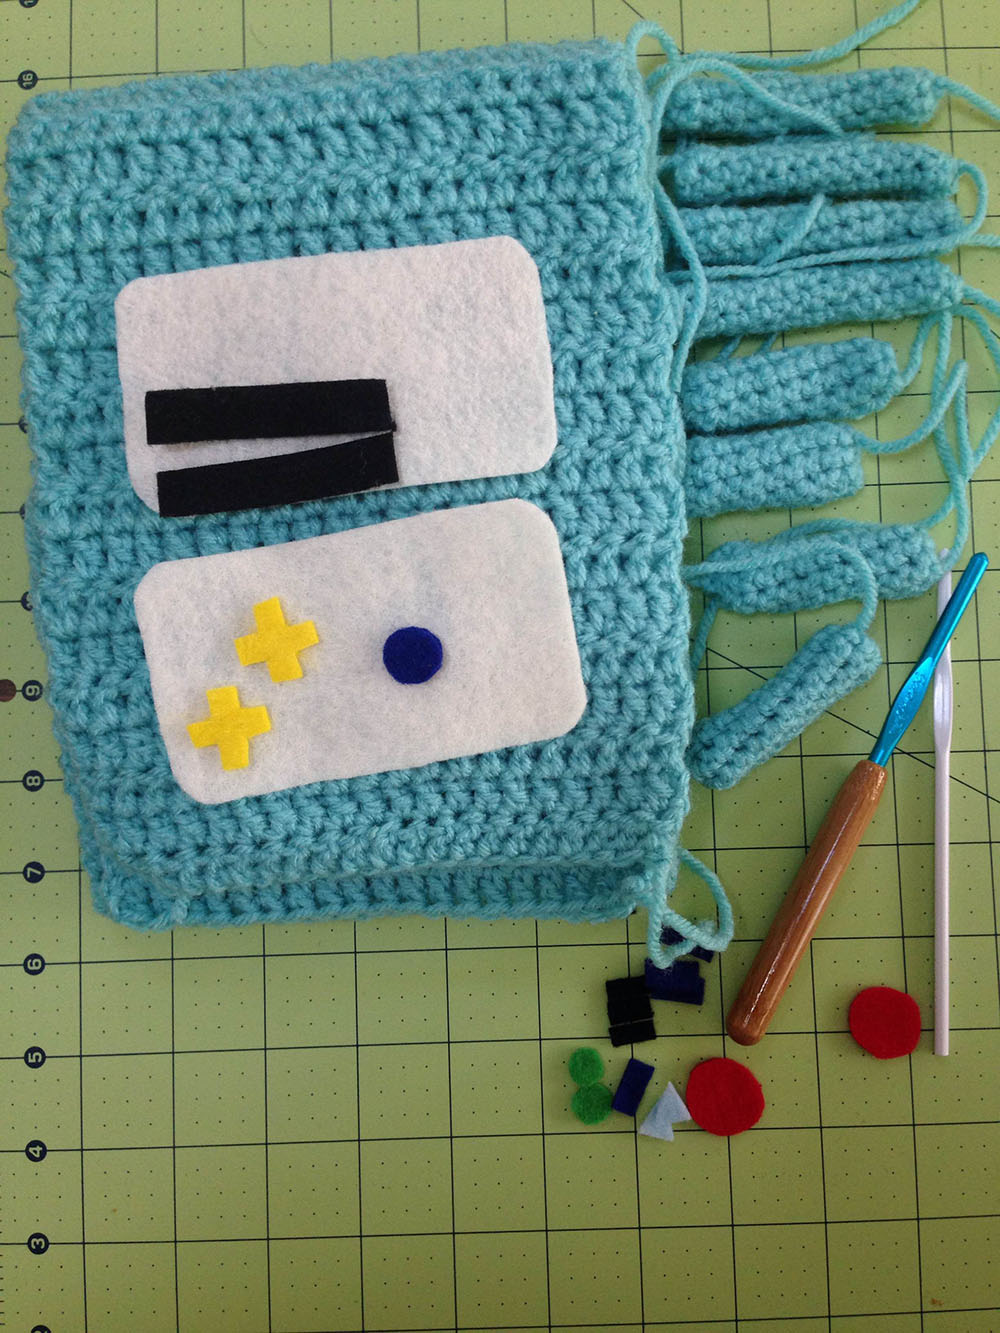
Using the attached PDF, cut out felt pieces as marked.
Now for the fun bit!

First, place the pieces at the end of the scarf as pictured below:

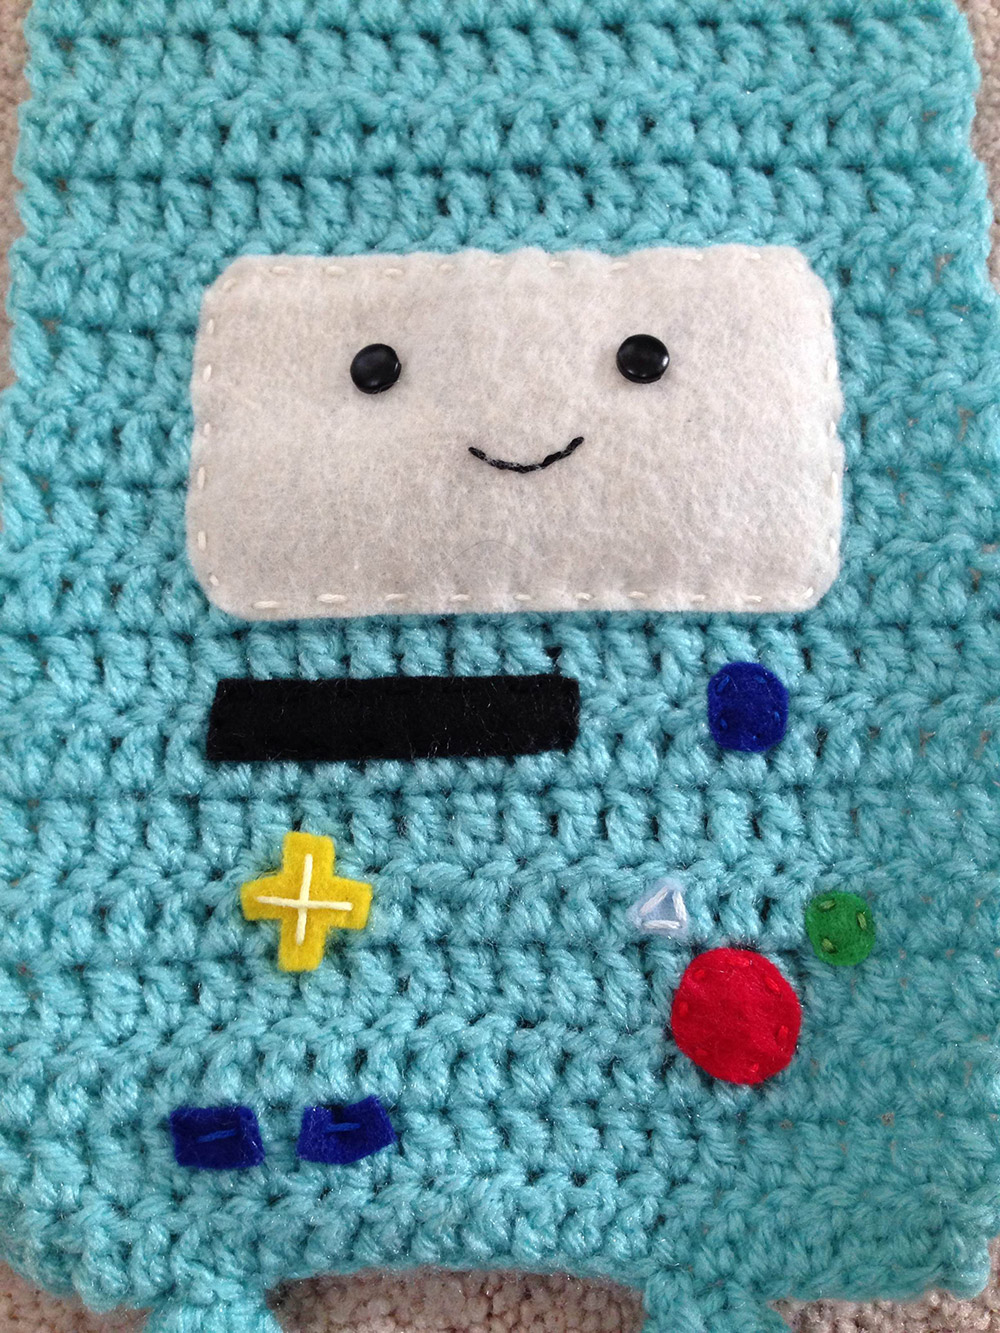
Attach the brads to BMO’s screen to make eyes, and using a running stitch detail the mouth. Then, stitch the screen onto the scarf using matching embroidery floss (or not, depending on what you have in your stash).
I then attach the arms and legs using the yarn needle and a whipstitch, placing them where I feel they look "right". Have a go and trust your instincts!
Finished!
Ta–Da! Now you should have one fantastic looking BMO scarf ready for that special Adventure Time fan in your life.
As I said at the start, this is my very first Crochet tutorial, your feedback on any mistakes, parts I miss out or sections that just make no sense at all would be very much appreciated.