[ Skip to Content ]
Go to the Red and Rosy home page

Red and Rosy

Discover my handmade, unique, bespoke creations. Lovingly crafted with felt, fabric & yarn. They make amazing gifts for all ages. See what we have that can make you the best gift giver of all time!

Older Posts, Page 4 of 14

Bunting Tutorial

A tutorial written by Rose Henderson on

So there are hundreds of “how to make your own bunting” tutorials online and plenty of ready made kits that you can buy to help you along the way, but I figured I was making bunting for my dining room so why not write a tutorial while I did it!

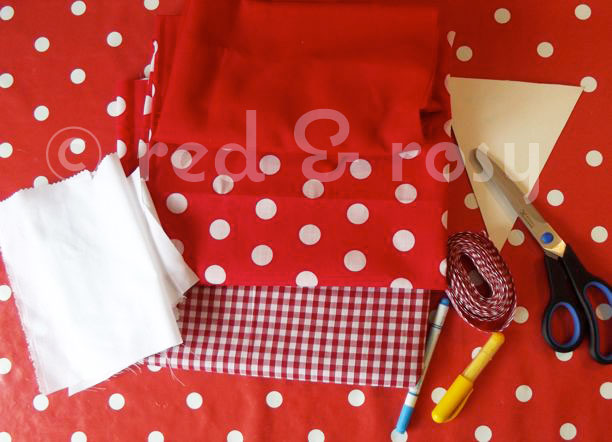
Materials required are:

  • Fabric (I decided to use red, white, red gingham and red spot fabric)
  • Bias Binding — I used 18mm gingham available from Crafty Ribbons
  • Scissors
  • Chalk / Water erasable pen or whatever you have to draw on the fabric
  • Bunting Template (cut out of an old cereal box — this one measured 5.5inches wide and seven inches long)
  • Sewing Machine!

Bunting materials required

First, fold your fabric in half right sides together. As you can see in the photograph’s to follow, I didn’t do that! This way will save you a little time.

Fabric folded, draw your template on the fabric leaving a 15mm (or more if you prefer) seam allowance.
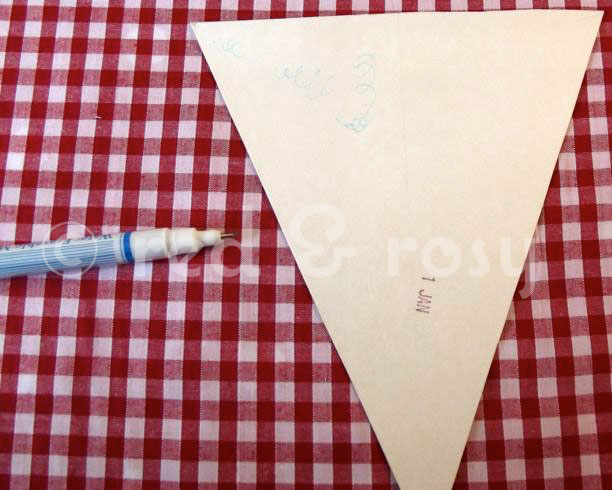
draw round template

I cut out six of each fabric (technically 12 of each as I didn’t fold my fabric first!), which gave me 1.5 metres of bunting
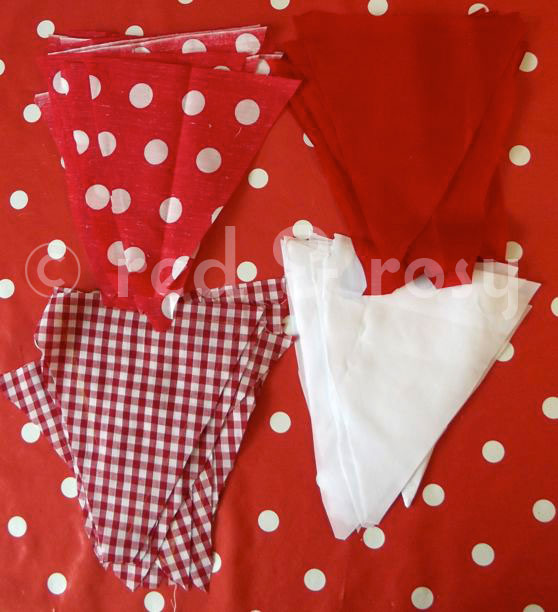
Bunting before sewing

Now we are ready to sew! Make sure that you have two pieces of the same fabric, right sides together with the side you drew the template on facing up.
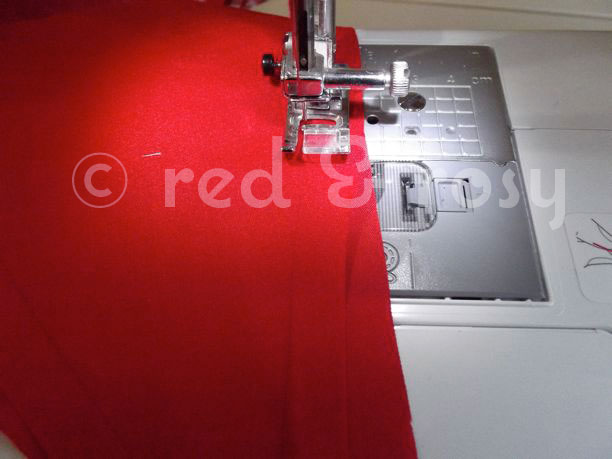
Ready to sew!

All you do is sew down the two long sides, I was able to just run them all through the sewing machine in one go by lining up the next flag just before the first one was finished.

MAKE SURE YOU KEEP THE TOP OF THE FLAG OPEN (sorry I felt the need to shout that but it is quite important)
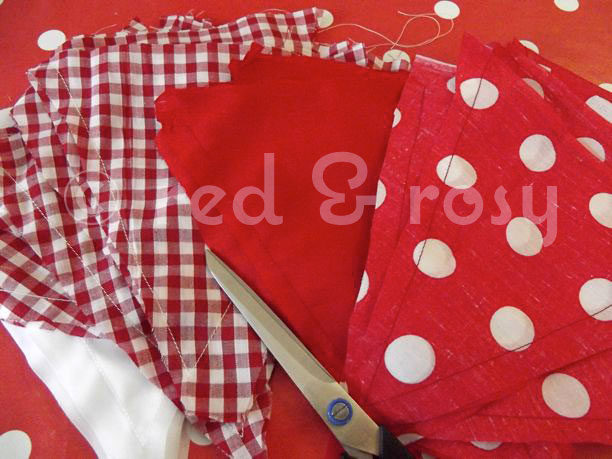
Keep the top of the flag open

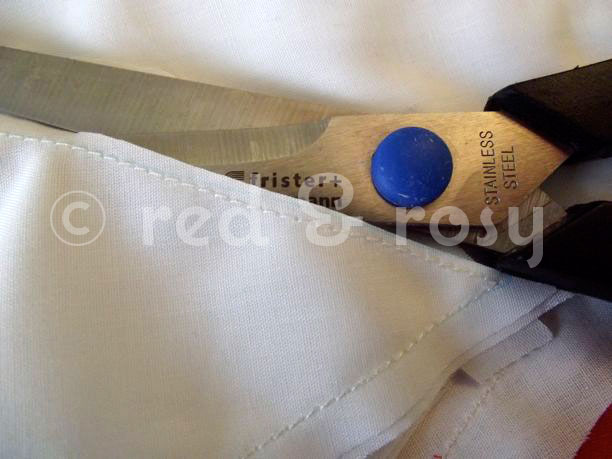
Trim round the edges.

bunting tutorial

And turn the right way out, using a skewer to poke the corner out to a point.
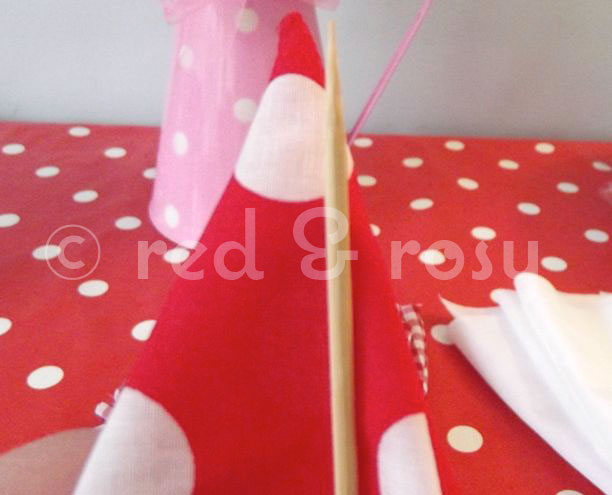
bunting tutorial

Now you will have a pile of flags looking a little like this:
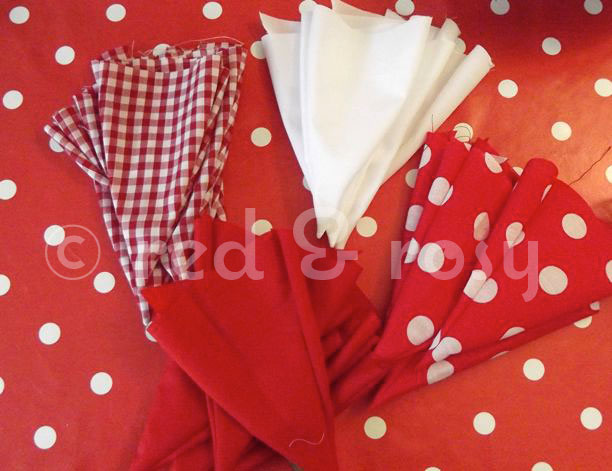
bunting tutorial

and the next step is to iron them all flat.
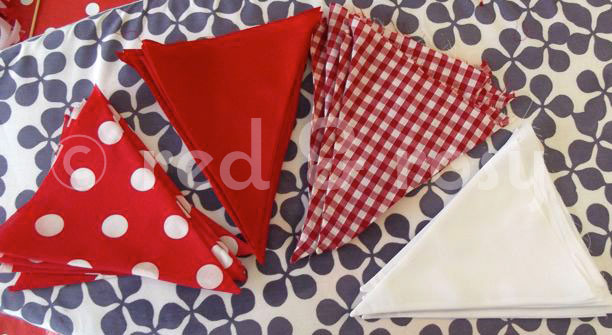
bunting tutorial

My most hated job of all!

When they are all lovely and ironed, take the Bias Binding and fold in half, and about an inch along place the first flag into the folded Bias Binding. Place into the sewing machine and stitch along the edge as shown.
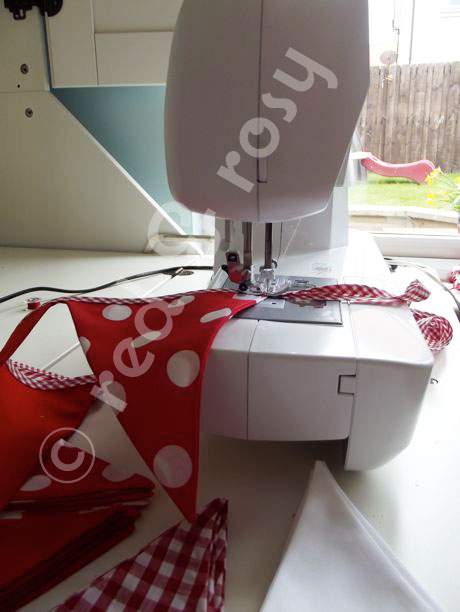
bunting tutorial

Keep feeding the Bias Binding through the machine, inserting a flag as you go along until all the flags are used.
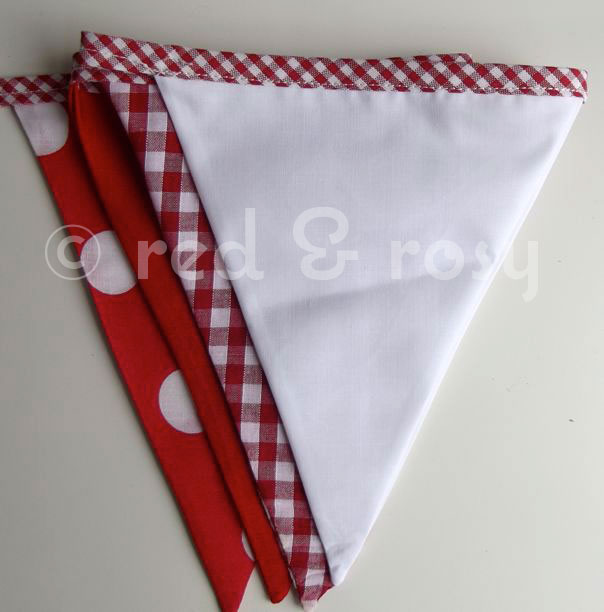
bunting tutorial

Once all of the flags are sewn, sew the remaining Bias Binding back on itself to make a loop, then go back to the start of the bunting and repeat on that end.
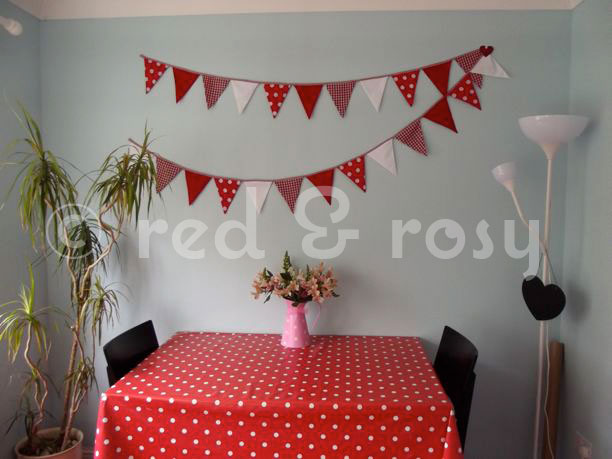
bunting tutorial

Then your finished! All your left to do is hang it somewhere that need’s to be made pretty — in my case my bare dining room wall.

Hope this makes sense, please feel free to ask any questions should you have any.

Rule, Britannia!

A note written by Rose Henderson on

A little sneak peak of of my up and coming Rule, Britannia! range. I’m very excited!

Rule, Britannia! promo picture

New baby gift

A note written by Rose Henderson on

Before reading this post please note the irony of me being unable to think of a new baby gift when 90% of my orders are for newborns!  Let’s just say it’s a good job I have lovely customers who appreciate my work, rather than lots of people like me. I’ll begin…

I really struggle with new baby gifts (see, I told you so!). What I mean is, if a friend of mine has a baby and they aren’t a really close friend then I’ll whip them up a Name Banner and feel all clever that I have given them something I know they aren’t going to get from anyone else, instead of a packet of babygrows or a rattle. (Apologies to people who buy these items, I got lots when having the boys and they really were useful!)

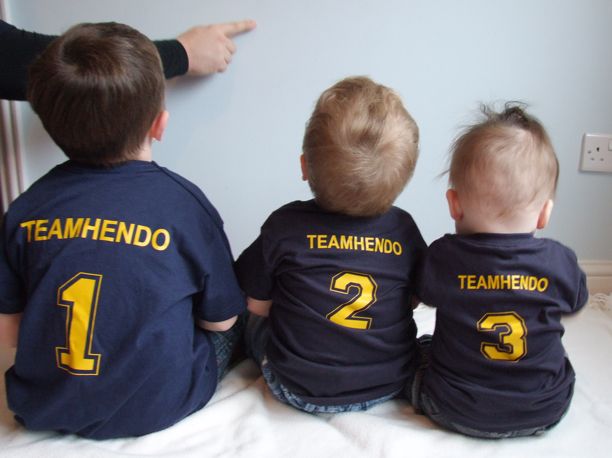
But the gifts I remember are the personal ones — a fantastic example is my friend Debs. When Toby was born she sent me the most fantastic Nappy Cake, I’d never seen a Nappy Cake and the fact that someone was considerate enough to send ME one (yes, I know it really was for Toby but he couldn’t open it so it was really for me) was wonderful. Then she trumped herself and pretty much anyone else in the history of gift giving in my eyes with these when Noah was born:

Team Hendo, Jack (1), Toby (2) and Noah (3)

Even now looking at them, I well up at the thought behind them. Deb’s knew (probably though me boring her to death with constant and continual photographs) that I am one of those Mum’s who have to take a photograph of EVERYTHING. I mean, if your friends with me on Facebook then I can only apologise, the invention of a mobile with a built in camera that also allows you to upload to Facebook means that every day you will see a photograph of one of my children in some sort of pose. So for me, with our family website Team Hendo, this was one of the most perfect gifts.

(And we did get professional photographs done, this was a dry run attempt with Ed attempting to stop Noah from looking at his toes and pulling his sock off.)

Anyway — these are the sort of things I always want to try and do for close friends and family, but usually I fail as I get so wound up in the pursuit of perfection that I don’t look at what is right in front of me. I mean, my nephew didn’t get a Name Banner until he was one as I just didn’t think of making him one!

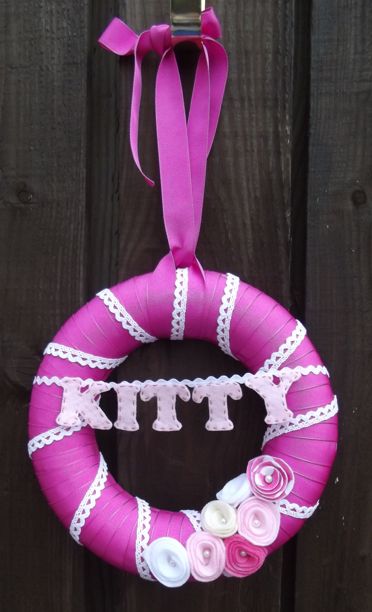
So, good friends of ours had baby Kitty at the start of January, when we were on holiday. Yup — that’s over a month ago and to be fair, her gift was made about a month ago and we were due to visit, and Noah was rushed to hospital. Which seems to be the way our lives go at the moment, we are destined to just never meet up with friends through illness or work commitments, but that’s a post for another day. Anyway, on Saturday we were finally able to take the gifts up and meet Kitty. And when I say we, I mean everyone but me as I was snowed under with orders :-/

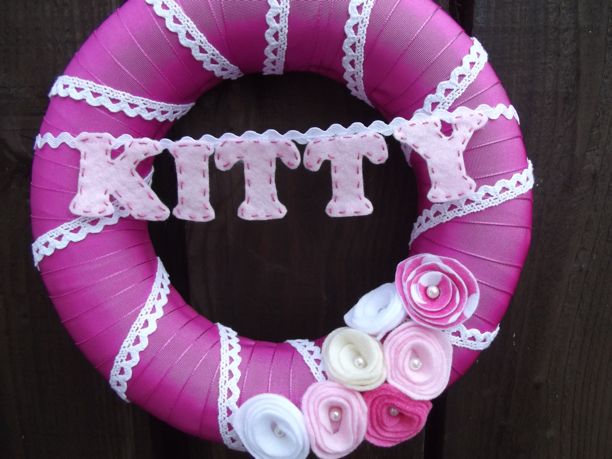
In hindsight I should have made a really awesome Felt Box Frame. It would have been fantastic. But I didn’t, as I didn’t think anyone would like it. So instead I made something I hadn’t ever attempted before that took me twice as long as a Felt Box Frame would, irritated the &*@! out of me and I still don’t think looks right.

Pink Kitty Name thing

I have fiddled with it for ages, tweaking bits and moving bits…

Pink Kitty Name thing (close–up)

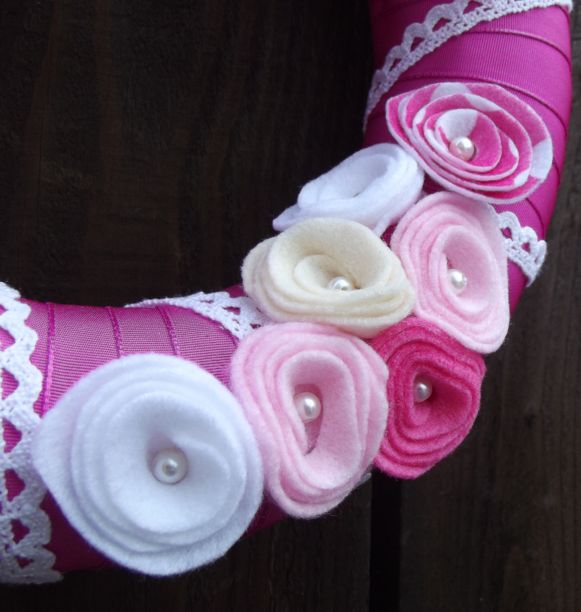
…and trying to get those flowers to look like they should look…

Pink Kitty Name thing (super close–up)

…and, well, it’s fairly safe to say I will never make another one again! So it is a complete one off original. Never to be repeated.

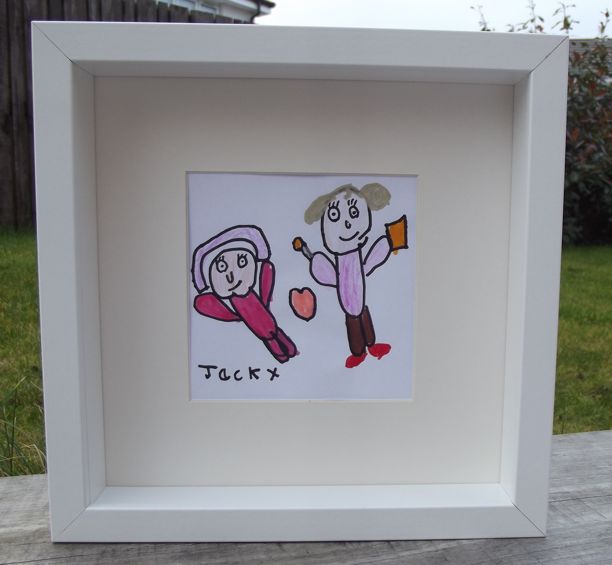
In addition to the wreath we also had a picture for them, at the start of the year Jack wanted to start drawing again and raise more money. I was very against this, last year was nuts in a wonderful and frustrating way and I just couldn’t have another few months of that. However, Ed mentioned on Twitter that Jack would like to do one picture and Kitty’s Dad replied asking if Jack could draw a picture of Kitty with her big sister Olivia, and made a generous donation to Jack Draws Anything (JustGiving). However, this one is different in that it’s one of the very, very few pictures that Jack has drawn where we have not kept the original. Natalie Cassidy has one, Practical Parenting Magazine auctioned off another and now Kitty and Olivia have a Jack Draws Anything original hanging in their home.

Jack Henderson original for Kitty

I’m seriously considering just getting Jack to draw all the new baby gifts from now on.

However, I can recommend a Name Banner or Felt Box Frame for a new baby, they are very pretty and the feedback I get from them is fantastic. And if your a friend of mine (or a family member) due to have a baby can you please just tell me if you would like one of my products as a gift otherwise I’m going to get myself all in a muddle again.

Heart Hair Clip Tutorial

A tutorial written by Rose Henderson on

Welcome to my FIRST Tutorial! Exciting! (for me, probably not so much for you but stick with me guys). Today’s tutorial is simple, quick and very addictive. The heart hair clip was "created" by my eldest son Jack in February 2010, when he wanted (me) to make a little gift for his girlfriend for Valentine’s Day.

Heart Hair Clip Tutorial

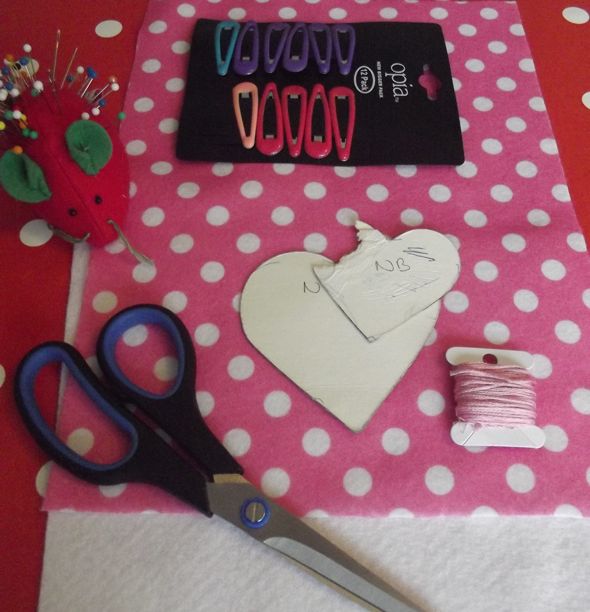
All you need to make these are

  • 2 sheets of felt in matching / contrasting colours
  • 2 heart shapes (drawn freehand or traced, mine are two different sizes of cookie cutters drawn round onto card)  The larger heart is three inches, the smaller heart two inches.
  • Packet of hair clips (these were £1 for a pack of 12 in Primark)
  • Matching embroidery floss
  • Scissors
  • Pins
  • Needle

Heart Hair Clip Tutorial

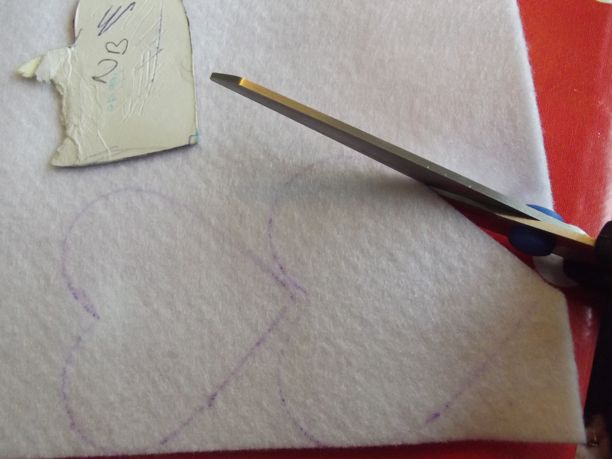
(Apologies for the state of my heart template — Noah took a bite out of it when he was around six months old and I just keep forgetting to replace it, I just flip it over when drawing round)

Ready? Right — first of all either trace round your largest heart twice and cut out, or pin it onto your fabric and cut round. Either way, you will need two of the large heart.

Heart Hair Clip Tutorial

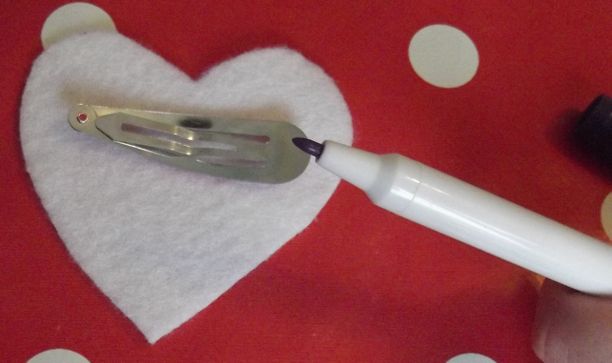
Pop one heart to the side and take a hair clip. Place the hair clip onto the heart and put two dots where the hair clip ends as shown.

Heart Hair Clip Tutorial

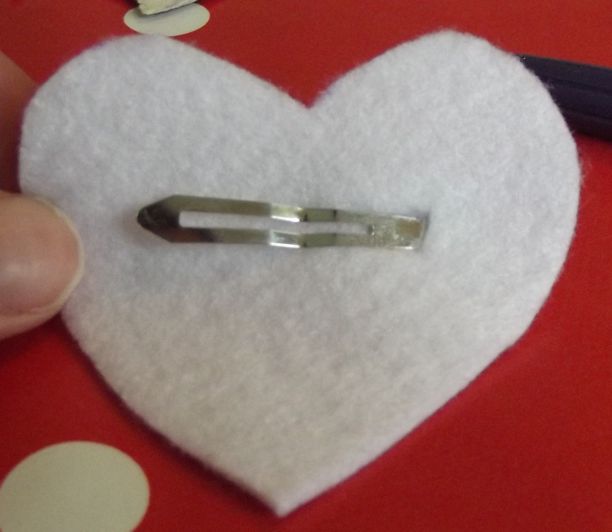
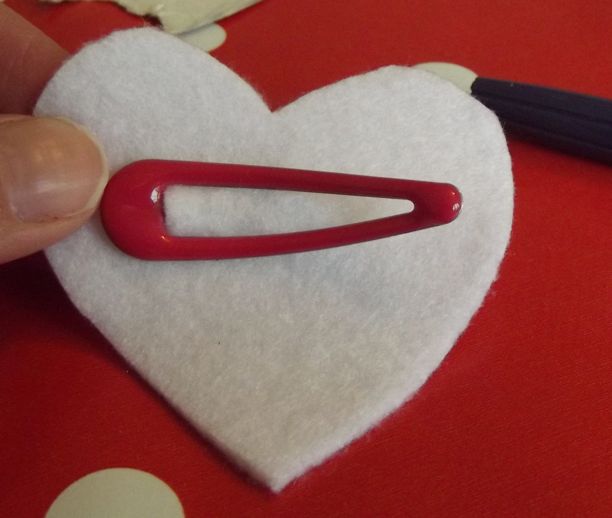
Make a small cut between the two dots so you can slide the hair clip through the gap. It should now look like this on one side:

Heart Hair Clip Tutorial

And this on the other:

Heart Hair Clip Tutorial

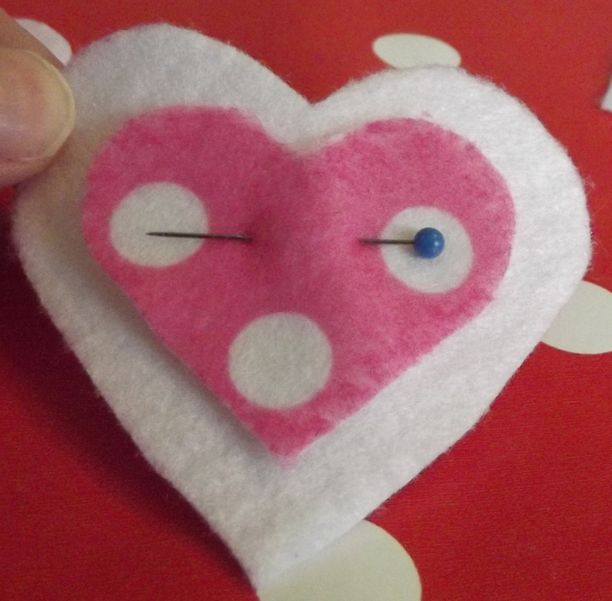
Set this to the side and take the sheet of felt you haven’t used yet, and cut a smaller heart from it. Take the piece of felt you haven’t put the hair clip on and pin the smaller heart to it like this:

Heart Hair Clip Tutorial

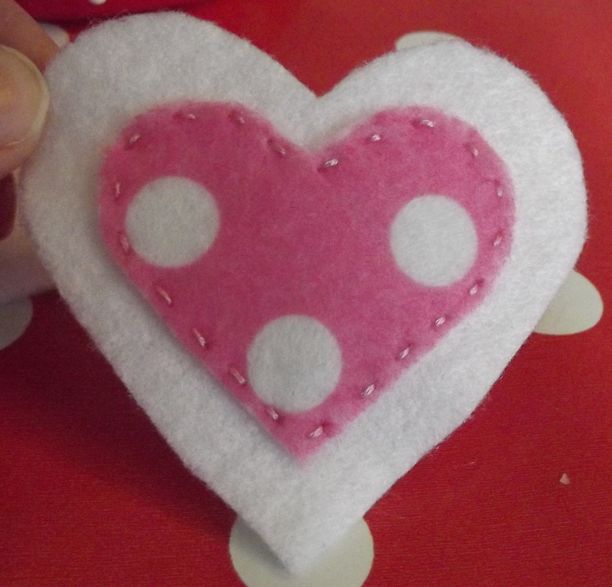
Taking the embroidery floss, use two strands and thread your needle. Use whatever stitch you are most comfortable using to secure the smaller heart to the larger heart (I’ve used a basic running stitch).

Heart Hair Clip Tutorial

Now take your other large heart and place the FRONT of the hair clip (bright pink part) behind the piece you have just sewn the smaller heart onto, then pin together.

Heart Hair Clip Tutorial

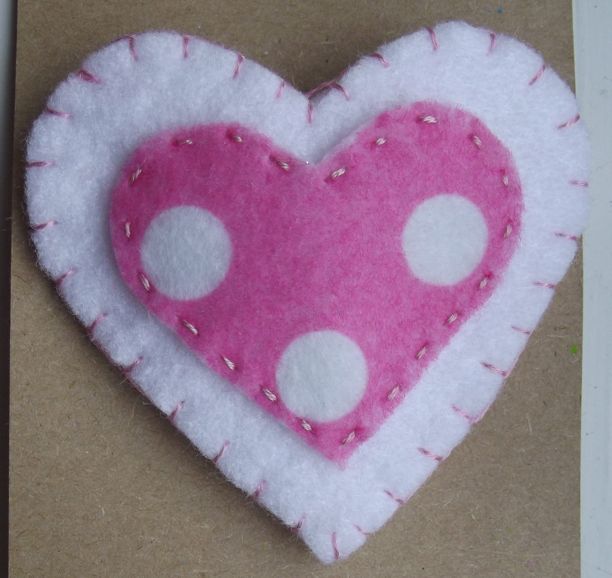
Take another two strands of embroidery floss and sew the two hearts together, again using whatever stitch you feel most comfortable with — for the outside edge I’ve used blanket stitch.

And that’s it — one pretty little hair clip!  Simple, effective and can be embellished with buttons or left as it is, and if you would prefer to wear as a Brooch then leave out the cutting and putting in the hair clip step and simply sew on a brooch back.

Heart Hair Clip Tutorial

Thank you for taking the time to read (and hopefully) follow this Tutorial.

The Red and Rosy giveaway! (Closed)

A note written by Rose Henderson on

So, how do you fancy winning this?

The Red and Rosy giveaway! (Closed)

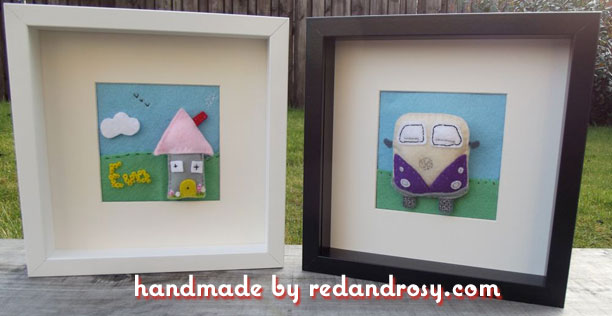
A Felt Box Frame of your choice. It can be an entirely new design, or something similar to what I have previously made. This is worth up to £45 not including the postage costs, and all I want you to do to enter is share this Blog post on your Facebook Page.

To do this all you have to do is go to my Facebook page (please Like it if you haven’t already) and on my Wall will be this Blog post — please Click share (next to Comment) and you are entered!  I am able to see who shared it, and will enter you into the Giveaway.

PLUS

If you are inclined to comment here, on my Blog, after you have shared then I’ll enter you into another draw to win a Star, Heart or Circle Name Banner of you choice. It doesn’t need to be much, even a hi will do 😊

The giveaway closes on Friday at 8.00pm and winners will be announced shortly after. Good luck, and please Share!